
You've got a container that works, a bug fixed inside it, and a boss or teammate asking for the exact same environment again. That's the moment many developers search for docker make image from container, because they don't want to rebuild from scratch, they want to preserve what already works before the container disappears.
The trap is that “save this container” can mean three different things. You can snapshot the live filesystem with docker commit, flatten it with docker export and docker import, or reverse-engineer the changes back into a Dockerfile so the result is reproducible later.
Table of Contents
- When You Actually Need to Save a Running Container
- Creating an Image With docker commit
- Using docker export and docker import
- Extracting a Dockerfile From a Running Container
- Comparing the Three Methods Side by Side
- Tagging, Pushing, and Production Discipline
- Deploying the Saved Image to a Managed Platform
When You Actually Need to Save a Running Container
A common rescue job starts the same way. Someone SSHs into a container, installs a missing package, tweaks a config file, or patches a broken binary just to get production breathing again. The fix works, traffic stabilizes, and then everyone asks the same question, how do we keep this state without losing the hours of debugging that got us here?
That's where the image-versus-container distinction matters. Docker's CLI documentation describes a container as a runtime instance of a Docker image, while AWS describes images as standalone, executable templates used to create containers. That means the thing you touched is disposable runtime state, while the thing you need to keep is a reusable artifact. Docker's CLI cheat sheet is the cleanest reminder of that split.
If you've got a one-off repair, an exploratory debug session, or a temporary environment tweak, you're probably in snapshot territory. If you already know the change should live forever, or you need a traceable build for the next deploy, a Dockerfile rebuild is usually the right end state.
Practical rule: save the container only when the container already proved something useful and you need to preserve that proof before it disappears.
For teams wiring this kind of emergency workflow into broader automation, the orchestration layer matters too. If you're thinking about how a saved container state might feed into an AI workflow or multi-step ops process, this OpenClaw-based agent orchestration resource shows the kind of handoff logic that becomes useful once the snapshot exists.
Creating an Image With docker commit
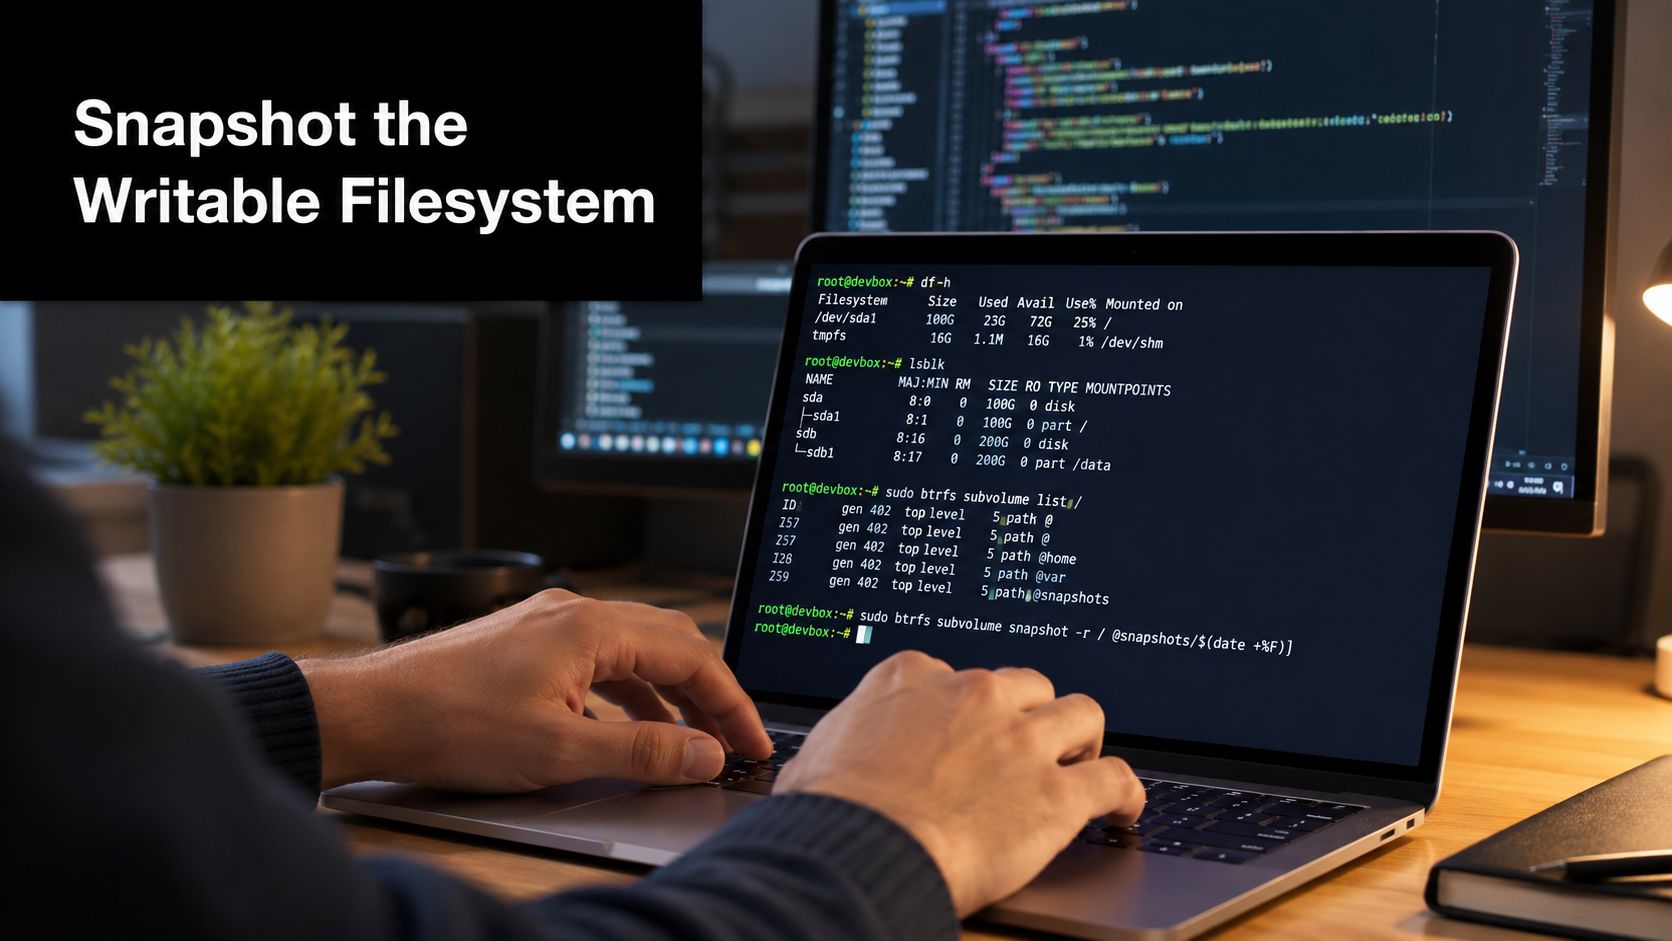
A running container can hold the only copy of a fix that matters, especially after a messy outage or a late-night repair on a production box. docker commit captures that container's current filesystem state into a new image, which is useful when you already made the change by hand and need to preserve it before the container disappears. Docker's guidance treats it as a practical escape hatch, not a substitute for a reproducible build.
The workflow is straightforward. Start a container from a base image, make the edits inside that container, and commit it to a new tag. Docker's object model still matters around it, docker container ls -a shows containers, docker container create makes a container without starting it, and docker image build stays the right path when the change belongs in a Dockerfile. OneUptime's Docker commit walkthrough shows that relationship clearly.
A practical commit flow
A normal commit flow is simple enough to do under pressure:
- Start from a base image.
- Change files or install packages inside the container.
- Commit the container to a tagged image.
- Start a fresh container from the new image.
- Check that the change survived the round trip.
Here's a small Ubuntu example that adds curl:
docker run -it --name demo-ubuntu ubuntu bash
apt-get update
apt-get install -y curl
exit
docker commit -a "ops" -m "add curl for debugging" demo-ubuntu ubuntu-with-curl:1.0
docker run --rm ubuntu-with-curl:1.0 curl --version
The -a flag records an author, -m records a commit message, and --change lets you bake metadata into the image. Use --change='ENTRYPOINT [...]' or --change='CMD [...]' when you need the new image to start differently, and --change='EXPOSE 8080' when you want to document the port the app uses.
What commit really preserves
A committed image keeps the writable filesystem state. It does not recreate the original docker run flags, and it will not carry over environment variables, exposed ports, restart policies, or mounted volumes from the source container. Anything that lived outside the container filesystem stays outside the image. That is why commit works well for a rescue snapshot and poorly as a long-term release path.
The operational warning is simple. If you change a running container and remove it before committing, the work is gone.
That trade-off matters when a quick fix becomes a handoff problem. A saved image may preserve the files, but it still leaves the next team to decide what to rebuild, what to reapply at runtime, and what to verify before it goes anywhere near production. For a closer look at how that handoff changes once a fix turns into a maintained artifact, vetting and partnering with tech talent is a useful reference point.
Using docker export and docker import
docker export and docker import are the stripped-down cousins of commit. Instead of keeping image history and runtime metadata, they move the container filesystem out as a tar archive and turn that archive into a flat image. That makes this workflow useful when the files matter more than the original Docker object model.
The basic pattern is straightforward. Export the container to a tarball, then import it as a new image:
docker export -o container.tar demo-ubuntu
docker import container.tar imported-ubuntu:flat
You can also stream the archive through standard input if you do not want to keep the tarball on disk:
docker export demo-ubuntu | docker import - imported-ubuntu:flat
What gets dropped on purpose
This path keeps the filesystem and drops the rest. You do not get the original CMD, ENTRYPOINT, EXPOSE, or environment variables from the source container. You also lose history layers, which is why the imported image is often easier to inspect but gives you less context about how it was assembled.
That becomes obvious the first time you run the image and it behaves differently from the container. If the original container listened on a port or depended on a runtime variable, you need to pass those settings again with docker run. A Python app, for example, may still need explicit -p and -e flags after import if you want the same behavior you had before.
Practical takeaway:
exportandimportare for filesystem portability, not configuration portability.
When this method makes sense
Use it when you need to move a container's contents out of Docker's layered image model, or when you want a smaller, flatter artifact for inspection. It can be useful for quick forensic work, for archiving a filesystem state, or for seeding a downstream environment that will not preserve Docker metadata anyway.
It is not a replacement for a real build pipeline. Docker's own guidance makes the trade-off plain, a committed or imported image may exist as a snapshot, but the runtime definition still belongs in the run command or in a build definition.
Extracting a Dockerfile From a Running Container
The best long-term move is usually to turn the working container state back into a declarative build. That's the path that survives handoffs, audits, and the next six-month redeploy when nobody remembers why the container had that one extra package.
Start with docker diff to see what changed after the original image was launched. It shows added, modified, and deleted files, which gives you the raw material for the rebuild. Then use docker history --no-trunc to inspect the original layer stack and recover the sequence you're trying to recreate.
Rebuild the intent, not just the files
A rebuild usually turns those observations into a Dockerfile like this:
FROM ubuntu
RUN apt-get update && apt-get install -y curl
CMD ["bash"]
If you found new application files inside the container, translate them into COPY instructions from your build context. If the container listened on a port, add an explicit EXPOSE. If it launched with a special process, encode that in CMD or ENTRYPOINT instead of relying on a manual docker run flag.
The point is not to mirror every temporary command you typed in a shell. It's to reconstruct the actual intent so another engineer can rebuild the image from source instead of depending on a mutated runtime snapshot.
Why this beats snapshotting for maintained systems
Docker's recommended workflow is still clear, commit is a quick snapshot tool, while building from a Dockerfile is the preferred method for reproducibility and long-term maintenance. That makes docker diff and docker history useful bridge tools, not the final destination. Observe's Docker image guidance lines up with the same distinction.
A useful way to think about it is this, the snapshot answers “what did I fix?”, while the Dockerfile answers “how do I make this again?” If the answer to the second question matters, capture the build in version control as soon as the container is stabilized.
Comparing the Three Methods Side by Side
The fastest way to choose is to compare what each method keeps and what it throws away. docker commit keeps the live filesystem state and is the easiest way to preserve a rescue fix. docker export and docker import are more portable but much more stripped down. Dockerfile extraction takes the most work, and it's the only option here that gives you a build you can reason about later.
| Method | Preserves | Drops | Image Size | Reproducibility | Best For |
|---|---|---|---|---|---|
docker commit |
Writable filesystem state, container changes made after start | Mounted volumes, original docker run flags, exposed ports, environment variables, restart policies |
Usually larger than a carefully rebuilt image | Low unless you later reconstruct a Dockerfile | Prototypes, emergency fixes, one-off customization |
docker export and docker import |
Filesystem contents in a flat archive | History layers, CMD, ENTRYPOINT, EXPOSE, environment variables, runtime metadata |
Often smaller and simpler | Low, runtime settings must be re-specified | Filesystem portability, inspection, migration |
| Dockerfile extraction | Intent encoded as build steps, runtime config you choose to recreate | Temporary shell edits unless you capture them in the file | Can be kept small with a proper rebuild | High | Production images, version control, future redeploys |
The pattern is consistent. Commit is fastest but most opaque, export/import is portable but stripped-down, and Dockerfile extraction is the only one that scales cleanly across time and teams. If your artifact needs to survive a platform change, a staffing change, or a clean-room rebuild, the Dockerfile path is the one that holds up.
Tagging, Pushing, and Production Discipline
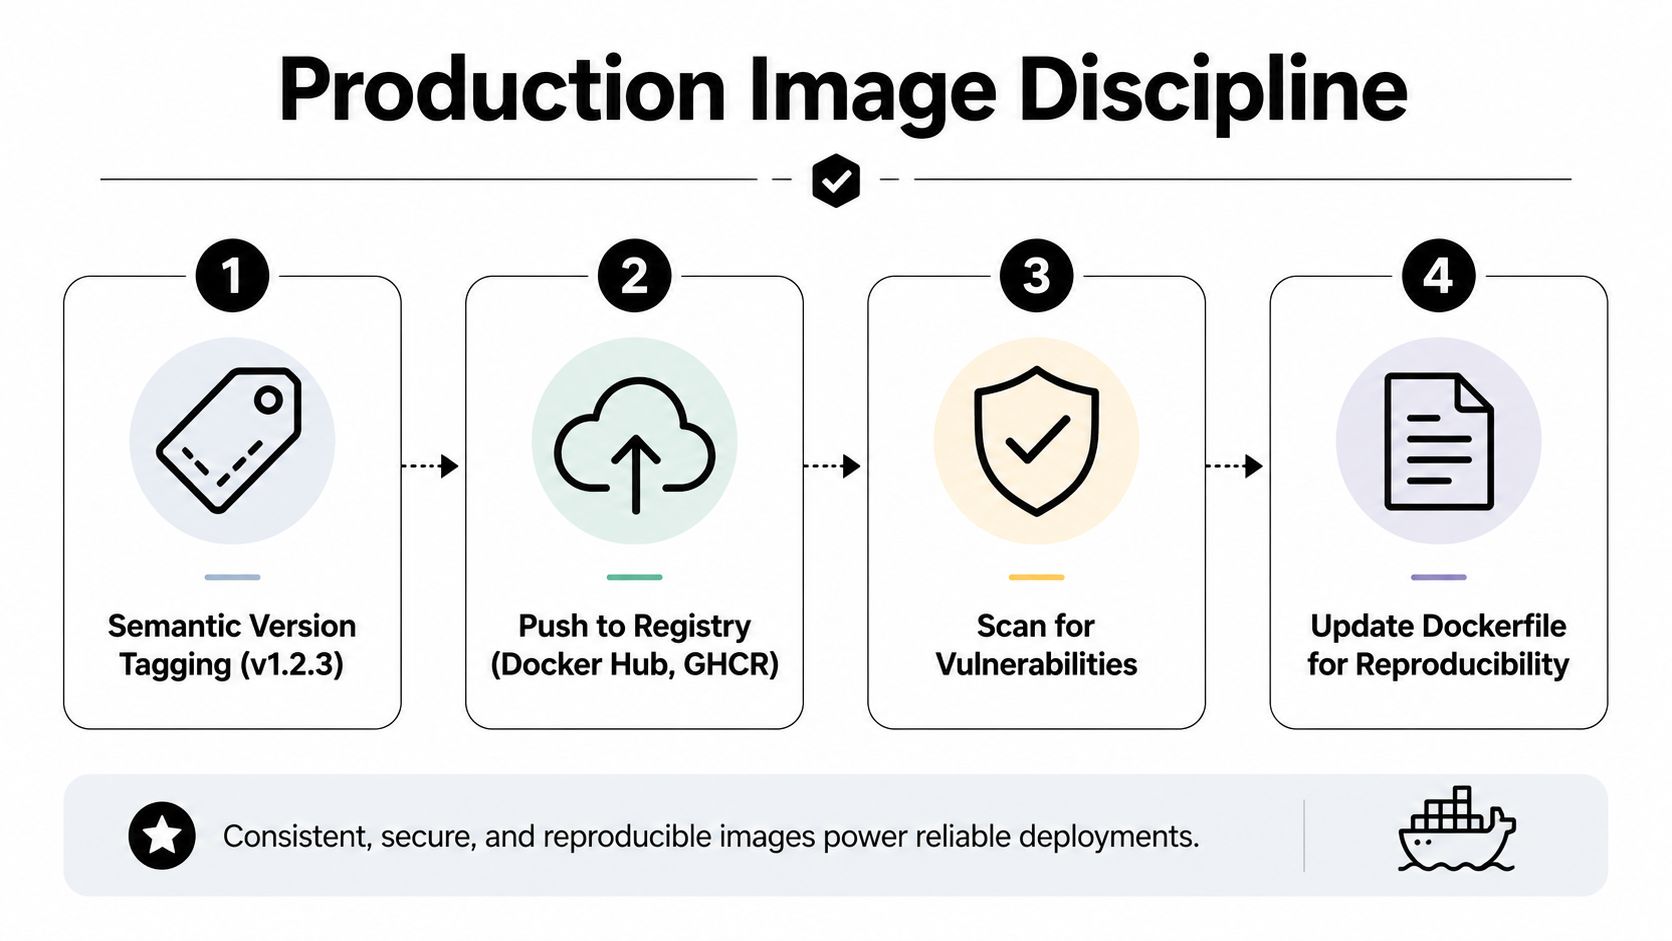
Saving the image is only the midpoint. If nobody can identify it, scan it, or pull it from a registry, you still don't have a deployable artifact. Tagging with a version, pushing to a registry, and treating the snapshot as a build output are the habits that keep a one-off rescue from turning into a maintenance headache.
Use a real tag, not just latest. A name like ubuntu-with-curl:1.0 makes the image easier to trace in logs, registries, and deployment manifests. Once it's tagged, push it to Docker Hub, GHCR, or a private registry with docker push so the image exists somewhere other than one engineer's laptop.
The discipline that separates rescue work from releases
The production checklist is straightforward:
- Tag deliberately: use a versioned tag so people know which artifact they're running.
- Push centrally: store the image in a registry where deployments can pull it reliably.
- Scan before release: run a vulnerability scanner such as Docker Scout or Trivy before shipping.
- Keep it small: use multi-stage builds so runtime images don't carry build-only dependencies.
- Avoid secrets in the filesystem: anything sensitive in the committed container can end up in the image.
These are the best practices that commit-only workflows routinely skip. DockerPros' container build guidance frames that tension clearly, convenience is not the same thing as a production-ready artifact.
The bigger problem is cultural. A lot of Q&A threads stop at “how do I save my working container?” and never ask whether the saved image is reproducible, secure, or portable. That's the question that matters once the fix leaves your terminal and enters a shared environment.
For operators wiring these images into a broader platform workflow, the next step is usually to connect the saved artifact to a deployment control plane. If you're looking at API-driven orchestration after the image is built, OpenClaw API integration resources are a practical example of how that handoff can be managed cleanly.
Deploying the Saved Image to a Managed Platform
A saved image only becomes useful when it has a place to run. On a managed platform, you point the system at the image, set the runtime knobs that were never encoded in a raw commit, and let the platform launch the container without you rebuilding the host by hand.

That handoff matters because a committed image rarely carries everything a real deployment needs. Ports, environment variables, and entrypoint behavior still have to be set at run time if they weren't baked into the image itself. A managed platform closes that gap by giving you a place to define those settings without manually repeating the same docker run flags forever.
The workflow is simple. Upload or reference the image, map the ports, set the variables, define the entrypoint, and launch. If the image came from a quick fix, that platform layer gives you a cleaner route from “we rescued it” to “we can run it again without touching the host.”
For teams that want the host layer abstracted away while keeping deployment control, OpenClaw hosting options show what that final step can look like in practice.
If you've got a container rescue sitting on your laptop right now, don't leave it as a disposable shell session. Move the state into a tagged image, decide whether commit, export/import, or a Dockerfile rebuild is the right fit, and then put the artifact somewhere your team can use it. If you want a managed way to run that image without wrestling with host setup, visit Donely and use it as the deployment layer between your saved container and production.